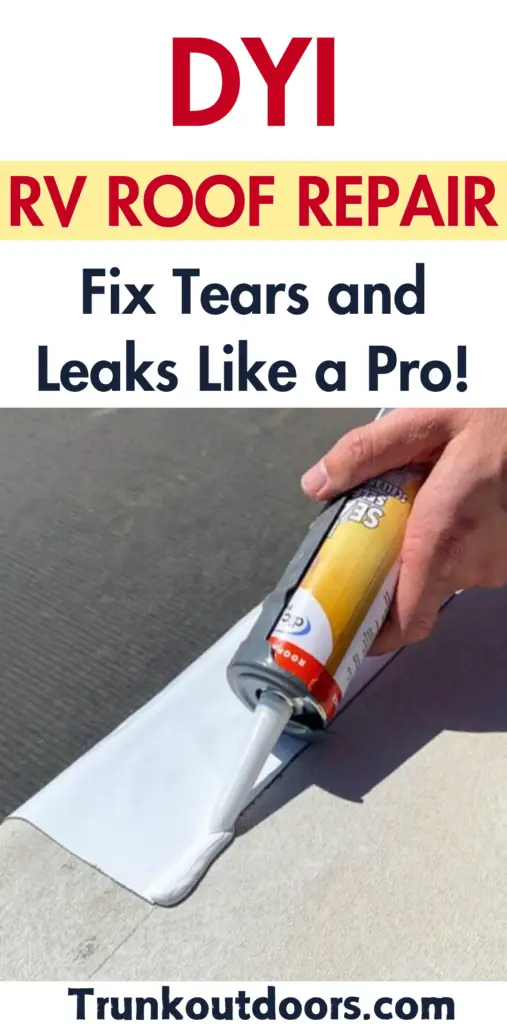
DIY RV Roof Repair: A Comprehensive Guide to Fixing Tears and Leaks
Living the RV life comes with its share of adventures and challenges. One of the most common issues RV owners face is roof damage, particularly tears and leaks.
Knowing how to repair your RV roof can save you time and money. In this comprehensive guide, we’ll walk you through the steps to DIY RV roof repair, ensuring your home on wheels stays dry and comfortable.

Why DIY RV Roof Repair?
Repairing your RV roof yourself offers several benefits:
- Cost-Effective: DIY repairs are significantly cheaper than professional services.
- Time-Saving: Avoid lengthy wait times at repair shops.
- Skill Building: Learn valuable maintenance skills for future issues.
Understanding RV Roof Materials
Before diving into the repair process, it’s essential to understand the different types of RV roof materials:
- EPDM (Ethylene Propylene Diene Monomer): A durable, rubber-like material commonly used in RV roofs.
- TPO (Thermoplastic Polyolefin): A single-ply roofing membrane that is heat-weldable and resistant to UV rays.
- Fiberglass: A strong, lightweight material that is less common but highly durable.
Common Causes of RV Roof Damage
RV roof damage can occur due to various factors:
- Low-Hanging Branches: Trees and other obstacles can scratch or tear your roof.
- Weather Conditions: Severe storms, hail, and heavy rain can cause leaks.
- Aging Materials: Over time, roofing materials can degrade and crack.
- Improper Maintenance: Neglecting regular inspections and cleaning can lead to damage.
Materials Needed for RV Roof Repair
Gather the following materials before starting your repair:
- Scissors
- Rubbing Alcohol
- Rags or Paper Towels
- Dicor 501LSW-1 EPDM Self-Leveling Lap Sealant
- Eternabond RV Rubber Roof & Leak Repair Tape
- Caulk Gun
- Gloves
- Safety Goggles
- Ladder or Step Stool
These materials are affordable and readily available, making DIY repair accessible for most RV owners.
Step-by-Step Guide to Repairing Your RV Roof
1. Inspect and Clean the Roof
- Inspection: Carefully examine your roof for tears, holes, or damaged areas. Pay close attention to edges, seams, and areas around vents and air conditioners.
- Cleaning: Remove any temporary patches and clean the area with rubbing alcohol and a rag. Ensure the surface is dry before proceeding. Use a soft-bristled brush to remove any debris or dirt.
2. Prepare the Surface
- Remove Old Sealant: If the damaged area has old Dicor or other sealants, remove as much as possible using a putty knife or scraper.
- Sand Lightly: For TPO or fiberglass roofs, lightly sand the area to improve adhesion. Wipe away any dust with a damp cloth.
3. Apply Eternabond Tape
- Measure and Cut: Determine the size of the patch needed and cut the Eternabond tape accordingly. Add an extra inch on each side to ensure full coverage.
- Application: Remove the backing and carefully apply the tape over the tear. Press firmly and smooth out any bubbles. Start from one side and work your way across, ensuring a secure bond.
4. Seal with Dicor Lap Sealant
- Caulk Gun: Use a caulk gun to apply Dicor 501LSW-1 EPDM Self-Leveling Lap Sealant over the entire patch.
- Leveling: Start from the edges and work your way in, ensuring a smooth and level finish. Wipe away any excess sealant with a damp cloth.
5. Allow for Curing
- Initial Waterproofing: The sealant will be waterproof in about 4 hours.
- Full Cure: It will be 80% cured in 48 hours and fully cured in 30 days. Avoid exposing the repaired area to heavy rain or extreme temperatures during the curing process.
Additional Tips for Specific Roof Materials
1. EPDM Roofs
- Regular Inspections: Inspect your EPDM roof every six months for signs of wear and tear.
- UV Protection: Apply a UV protectant to extend the life of your EPDM roof.
2. TPO Roofs
- Heat Welding: For larger repairs, consider using a heat welder to create a stronger bond.
- Compatible Sealants: Ensure that the sealants you use are compatible with TPO material.
3. Fiberglass Roofs
- Gelcoat Repair: For minor scratches or cracks, use a fiberglass repair kit with gelcoat to match the color of your roof.
- Resin Application: For deeper cracks, apply a layer of fiberglass resin before applying the sealant.
Preventing Future RV Roof Issues
Regular maintenance is key to preventing roof damage:
- Inspect Regularly: Check your roof for signs of wear and tear during routine maintenance.
- Avoid Obstacles: Plan your routes to avoid low-hanging branches and other obstacles.
- Address Issues Promptly: Fix small problems before they become major repairs.
- Use Protective Coatings: Apply UV protectants and sealants to extend the life of your roof.
FAQs About RV Roof Repair
Should I Repair My RV Roof Myself or Hire a Professional?
For small tears and leaks, DIY repair is often the best option. However, if the damage is extensive or involves structural issues, consider hiring a professional to assess and repair the roof.
How Much Does RV Roof Repair Cost?
A simple DIY repair typically costs less than $50. Replacing an entire roof can range from $300 to $3,000, depending on the size and material of the roof. DIY repairs are a cost-effective solution for minor issues.
How Long Does an RV Roof Repair Last?
With proper application and maintenance, an RV roof repair can last for several years. Regular inspections and timely repairs can extend the life of your roof significantly.
Conclusion
Repairing your RV roof doesn’t have to be a daunting task. With the right materials and a bit of know-how, you can fix tears and leaks quickly and affordably.
By following this comprehensive guide, you’ll be well on your way to maintaining a dry and comfortable RV.