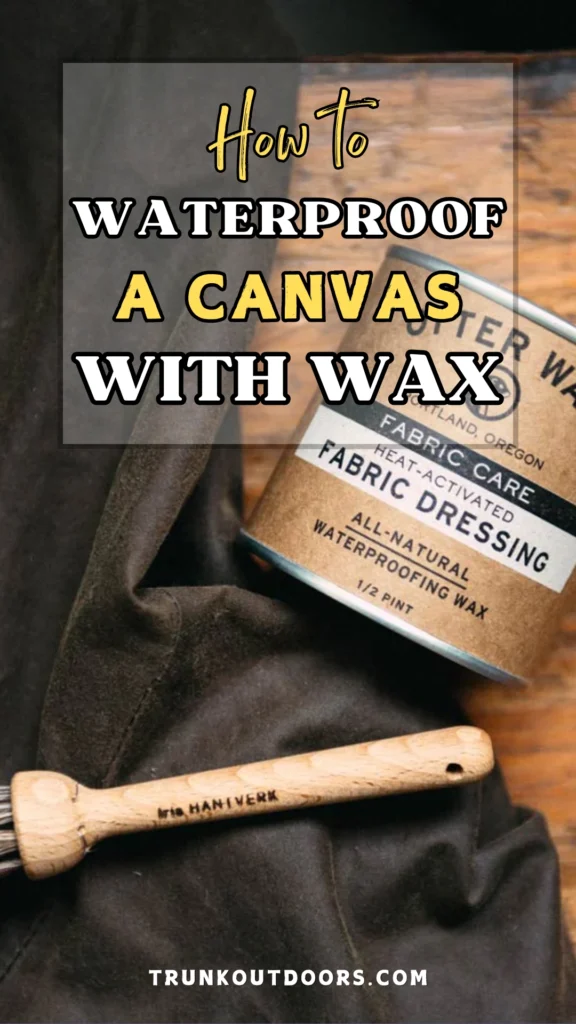
Waterproofing Canvas with Wax: The Ultimate Guide
Are you tired of your canvas gear getting soaked in the rain? Look no further! In this article, we will guide you through the process of waterproofing canvas with wax.
From backpacks to tents, learn how to keep your beloved items dry and protected from water damage.
With a few simple steps, you can transform ordinary canvas into a water-repellent barrier that stands up against even the harshest weather conditions.
So grab your brush and let’s learn how to waterproof canvas with wax!
What is Waterproofing Canvas?
Waterproofing is the process of treating a material to make it resistant to the penetration of water.
When it comes to canvas, waterproofing helps prevent moisture from seeping through the fabric and causing damage or discomfort.
Whether you’re using a backpack on a rainy day or camping in wet conditions, having waterproofed canvas products can greatly enhance their performance and durability.
Types of Wax for Waterproofing Canvas
There are different types of wax that can be used for waterproofing canvas:
- Beeswax: Beeswax is a natural option known for its excellent water-repellent properties. It provides reliable protection while also allowing the fabric to retain some breathability.
- Paraffin Wax: Paraffin wax is a synthetic alternative that offers good waterproofing capabilities at an affordable price point.
- Combination: Some people choose to combine both beeswax and paraffin wax for optimal results – utilizing the benefits of both natural and synthetic waxes.
It’s important to note that each type of wax may produce slightly different results when applied to canvas.
How to wax canvas in 5 Steps
To effectively waterproof your canvas items with wax, follow these steps:
Step 1: Gather Your Materials
Before getting started, gather all necessary materials:
- Wax (beeswax or paraffin)
- Double boiler (or makeshift double boiler using two pots)
- Brush (natural-bristled for better application)
- Hair dryer
- Clothesline or drying rack
Step 2: Prepare the Canvas
Properly preparing the canvas before applying wax is crucial:
- Wash the canvas with a mild soap and water solution to remove any dirt or debris.
- Rinse the canvas thoroughly and allow it to air dry completely.
- Once dried, iron the canvas on a low heat setting; this helps open up its fibers for better wax absorption.
Read more about: Waterproofing Canvas Tarp
Step 3: Apply the Wax
Now it’s time to apply the waterproofing wax onto your prepared canvas:
- Melt your chosen type of wax in a double boiler over low heat until completely melted.
- Dip your natural-bristled brush into melted wax, ensuring there’s an adequate amount on it without excessive dripping.
- Start applying thin, even layers of wax to the canvas using long strokes from top to bottom.
- Be sure to overlap your brush strokes slightly for uniform coverage.
Note: Repeat steps 3-5 until the canvas is sufficiently waterproofed.
Step 4: Heat the Wax
To further enhance waterproofing effectiveness, heat the applied wax:
- Use a hair dryer on a low or medium heat setting and slowly move it over the entire surface of the waxed canvas.
- The heat will help melt the wax deeper into canvas fibers, creating an effective water-repellent barrier.
Read more about: Waterproofing A Canvas Tent
Step 5: Let the Canvas Dry
After heating, allow sufficient time for drying:
- Hang treated canvas on a clothesline or drying rack in a well-ventilated area.
- Ensure both sides of the fabric are exposed to air circulation for even drying.
- Allow ample time for complete drying before using or storing your waterproofed canvas items.
Read more about: Waterproofing Canvas
How often do you need to reapply wax to canvas?
The duration between reapplications depends on various factors such as usage frequency and exposure to harsh weather conditions.
Generally, it’s recommended to reapply wax every few months or as needed. If you notice that water is no longer beading up on the surface of your canvas, it’s a good indication that it’s time to reapply wax.
Will waterproofing canvas make it stiff?
The type of wax used and the application method can affect the stiffness of the canvas. Beeswax tends to leave a softer finish compared to paraffin wax.
To prevent stiffness, ensure that you apply thin layers of wax and heat it properly with a hair dryer.
Can I waterproof canvas in the washing machine?
While some sources recommend using the washing machine for waterproofing canvas, we advise against this method.
The agitation and high temperature during the wash cycle may not distribute the wax evenly and can potentially damage your machine or other items inside.
It’s best to stick with manual application methods for better control and results.


Conclusion
With these simple steps, you can successfully waterproof your canvas items with wax.
Whether you’re preparing for outdoor adventures or want to protect your everyday essentials, proper waterproofing will help extend their lifespan and enhance their performance in wet conditions.
Remember to maintain your waterproofed items by regularly inspecting them for signs of wear and reapplying wax as necessary. Enjoy your dry and protected canvas products!