Winter Camping in Yosemite: A Comprehensive Guide
Yosemite National Park, with its iconic granite cliffs, towering waterfalls, and diverse ecosystems, is a haven for outdoor enthusiasts.
While summer draws crowds seeking warm adventures, winter unveils a different side of Yosemite—a serene, snow-covered landscape that invites the intrepid camper.
In this guide, we’ll delve into the ins and outs of winter camping in Yosemite, focusing on open campgrounds, regulations, safety tips, and more.
Open Campgrounds in Winter
1. Developed Campgrounds:
Upper Pines Campground

Nestled in the heart of Yosemite Valley, Upper Pines remains open in winter, offering a central location for winter explorations.
It has 238 sites, some can accommodate tents, RVs up to 35 ft, and trailers up to 24 ft long. The campground has flush toilets, bathroom with drinking water, fire rings, picnic tables, and food lockers.
Reservations are required year-round. Visit the NPS website for more information.
Camp 4

Famous among climbers, Camp 4 is open year-round, providing a rustic camping experience for those seeking adventure amidst winter landscapes.
It has 25 open sites in the winter. The campground has flushing toilets, bathroom with drinking water, fire rings, picnic tables, and four shared food lockers.
No reservations are needed; sites are available on a first-come, first-served basis and limited to 6 person per site with $10 fees per night.
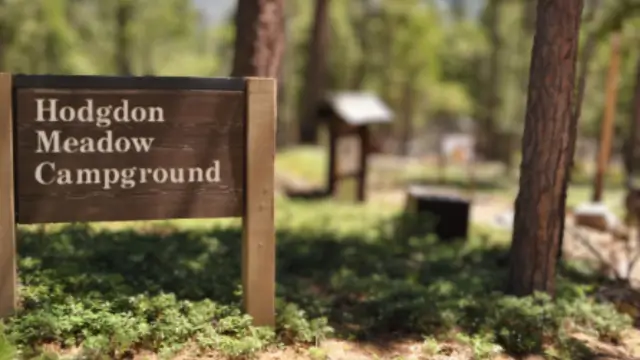
Hodgdon Meadow Campground

Located at a lower elevation, Hodgdon Meadow offers a milder winter camping experience, making it accessible even during colder months.
It has 105 sites; some can accommodate tents, RVs up to 35 feet, and trailers up to 27 feet. The campground has flush toilets, bathroom with drinking water, fire rings, picnic tables, and food lockers.
Reservations are required from early to mid-April through early to mid-October and available on a first-come, first-served basis during the rest of the year.
Wawona Campground

Situated in the South Fork Merced River, Wawona Campground provides a unique winter camping experience with historic charm.
It has 97 sites; some can accommodate tents, RVs up to 35 ft and trailers up to 35 ft. The campground has flush toilets, drinking water, fire rings, picnic tables, and food lockers.
Loops A and B are available on a first-come, first-served basis from late October to early April when Loop C is closed in winter.
Check the NPS website to make reservation and more information about each campground above.
Note: Yosemite campgrounds fill within seconds, mostly during May-Sept and some weekends. Reserve as soon as possible, starting 7am Pacific.
2. Backcountry Camping
Winter transforms Yosemite’s backcountry into a pristine wilderness. Obtain permits for winter backcountry camping to explore remote areas like Glacier Point or Tuolumne Meadows.
You’ll need to bring your own equipment and gear for snow camping, such as a four-season tent, a snow shovel, an avalanche beacon, and a stove.
You’ll also need to practice proper snow camping etiquette, such as packing out all trash and human waste.
Regulations and Permits
1. Permits for Backcountry Camping
Obtain a wilderness permit for winter backcountry camping. Check with the park’s Wilderness Center for availability and regulations.
You can reserve your permit up to 24 weeks in advance or obtain one on the day of your trip. You’ll need to specify your trailhead, itinerary, group size (maximum of 15 people), and bear canister (required for food storage).
2. Campground Regulations
Adhere to specific regulations for open campgrounds, including designated fire areas (only in metal fire rings), waste disposal (use dumpsters or recycling bins), and respecting wildlife (do not feed or approach animals).
You’ll also need to follow the park’s rules on quiet hours (10 pm to 6 am), pets (must be leashed and attended at all times), and vehicle parking (only in paved areas).
Read more about Yosemite’s wilderness regulations.
Equipment and Gear
1. Winter Camping Essentials
- Cold-Weather Sleeping Bag:
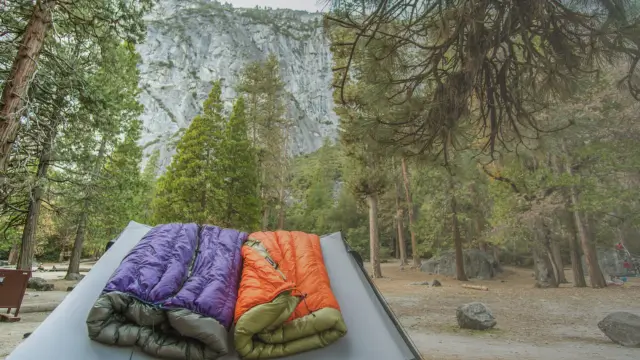
Yosemite winters can be chilly; invest in a sleeping bag designed for cold temperatures. Look for a sleeping bag with a temperature rating that matches or exceeds the lowest expected temperature of your trip.
You may also want to consider the shape (mummy bags are more snug), the insulation (down or synthetic), and the weight (lighter bags are easier to carry) of your sleeping bag.
- Layered Clothing:
Dress in layers for changing weather conditions, including waterproof outer layers.
- Start with a base layer that wicks moisture away from your skin (such as wool or synthetic fabrics).
- Add a mid layer that provides warmth and insulation (such as fleece or down).
- Finish with an outer layer that protects you from wind and rain (such as a waterproof jacket and pants).
- Don’t forget to wear a hat, gloves, and warm socks.
Read our article to learn How To Dress For Winter Camping
- Snowshoes or Skis:
Depending on snow depth, snowshoes or skis can be essential for traversing snowy terrain. Snowshoes are easier to use and more versatile, while skis are faster and more efficient.
Choose the right size and type of snowshoes or skis for your weight, skill level, and terrain preference. You’ll also need to bring poles, boots, and gaiters.
2. Campsite Setup
- Proper Tent and Stakes:
Choose a winter-worthy tent with a sturdy frame and stakes suitable for snow. A four-season tent is designed to withstand strong winds and heavy snow loads. Learn about How To Secure A Tent In High Winds.
You’ll also need to use snow stakes or anchors that can secure your tent in loose or packed snow.
You may also want to dig a trench around your tent to prevent snow from accumulating on the sides.
- Insulating Sleeping Pad:
Place an insulating pad beneath your sleeping bag to prevent heat loss to the cold ground.
A sleeping pad provides cushioning and insulation, making your sleep more comfortable and warm.
Look for a sleeping pad with a high R-value, which indicates its resistance to heat flow.
You may also want to use two pads (one foam and one inflatable) for extra insulation.
Activities and Amenities
1. Winter Hiking:
Explore Yosemite’s trails on snowshoes or cross-country skis, immersing yourself in the tranquility of winter solitude.
Some of the most popular winter trails include the Mist Trail, the Mirror Lake Loop, the Valley Loop Trail, the Wawona Swinging Bridge, and the Mirror Lake Trail.
You’ll need to check the trail conditions and closures before you go, as some trails may be icy, snowy, or inaccessible. Check this helpful guide for the best winter hikes in Yosemite Valley.
2. Ranger-Led Programs:
Check for winter ranger-led programs and guided snowshoe walks to enhance your Yosemite experience.
You can learn about the park’s history, geology, ecology, and wildlife from knowledgeable rangers and naturalists.
You can also join guided snowshoe walks that take you to scenic spots and teach you basic snowshoeing skills. These programs are free and open to all ages and abilities.
Challenges and Safety Tips
1. Weather Challenges:
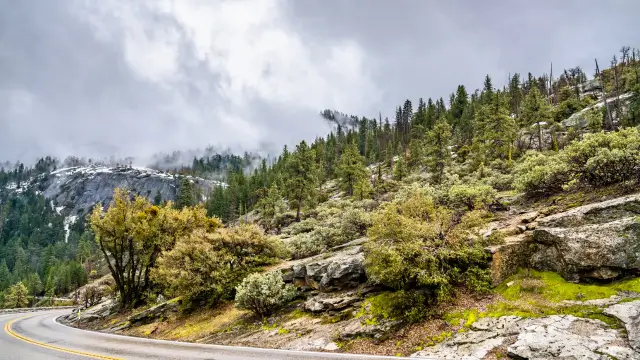
Yosemite’s winter weather can be unpredictable. Stay informed about current conditions and be prepared for sudden changes.
Check the weather forecast before your trip and pack accordingly; check the park’s website or call 209-372-0200 for updated weather forecasts, road conditions, and alerts.
Campers must be prepared for the possibility of changing weather patterns, have the necessary gear to stay warm and dry, like extra clothing, food, water, and fuel, in case of emergencies, and avoid traveling during storms or blizzards.
- Average winter temperatures in Yosemite Valley range from 27°F (-3°C) to 58°F (14°C).
- Average winter snowfall in Yosemite Valley is 36 inches (91 cm).
- Higher elevations in the park can receive significantly more snowfall. For example, the average snow depth in Badger Pass Ski Area is 53.15 inches (135 cm).
2. Wildlife Awareness:
While some wildlife hibernates, others remain active. Understand wildlife behavior and secure food items to prevent unwanted encounters.
Black bears may still be active in winter, so store your food properly and report any sightings to rangers. Other animals, such as coyotes, deer, and bobcats, may also be seen in winter.
3. Emergency Preparedness:
Carry essential emergency supplies, including a first aid kit, communication devices, and extra food.
You may also want to bring a map, a compass, a GPS, and a whistle for navigation and signaling. In case of an emergency, call 911 or contact the nearest ranger station.
Conclusion
Winter camping in Yosemite unveils a serene beauty and a unique opportunity to experience the park’s wonders without the summer crowds.
Whether you choose a developed campground or venture into the backcountry, thorough preparation and adherence to regulations will ensure a safe and memorable winter camping experience in this iconic national park.
Embrace the magic of Yosemite in winter and create lasting memories amidst snow-covered landscapes.